
As an SEO provider, we have used multiple plugins for SEO from All In One SEO and Yoast to SmartCrawl Pro. In talking with a lot of other SEO Providers, bloggers and site owners I found that most of us do the same thing. We Google Yearly: “What are the best settings (insert plugin here) for (insert year here)” I tend to do this around June or July for each of my clients just to make sure that the settings I have are the best for any algorithm change that has happened. This quick little audit gives me a small piece of mind that the plugin is working the way that it should and allows me to adjust some of the settings that need to be changed because of an algorithm or plugin update.
That being said in all my searching I have not found one for SmartCrawl Pro, so here goes.
Here Are Best SEO Settings for SmartCrawl 2019
SmartCrawl Pro is a Premium plugin from wpmudev so you will need a subscription to download and install the plugin. They have a lot of plugins that we use for most of our clients so I would advise looking into them if you haven’t yet.
Download the Plug-in Here
I am going to save you the scrolling down by not giving you instructions on how to install a plugin, only enough to say download the plugin from the website then upload the plugin via the plugins page. If you use the WPMUDEV dashboard then just install if from there.
After you install the plugin you will need to find SmartCrawl on the left sidebar and then click on Dashboard you will see this.
You should get a page like this:

So the first thing you should do is click on the Activate button. This will go through your site and find all of the issues. If this is the first time you have installed SmartCrawl Pro then the Activate button will say Checkup. If you have already installed SmartCrawl then you can click on SEO Checkup on the left after clicking on SmartCrawl to re-run the SEO check tool.
The tool check will look at all of the SEO issues on your site and give you some good guidelines of issues that need to be fix… More on that later.
After you activate or run the tool you will receive a score and a list of items that need to be fixed. It will look like this:
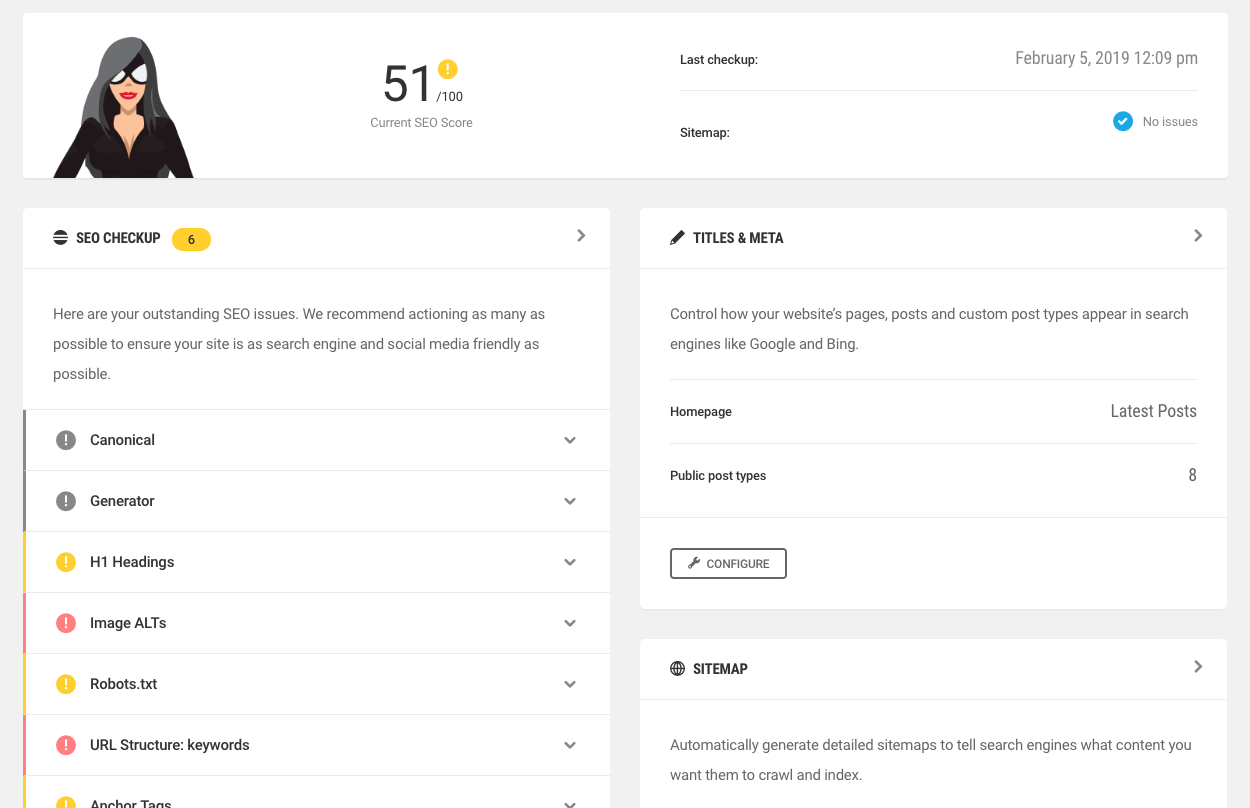
Your score will vary and since this is the first time you are setting up SmartCrawl don’t worry about it, we will fix it.
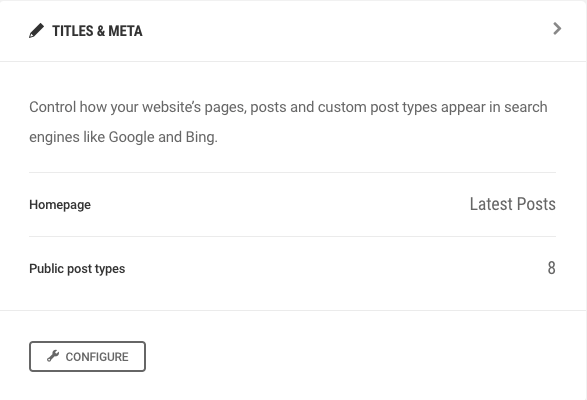
Click on the configure button under Titles & Meta or you can click on Titles & Meta on the WordPress menu on the left-hand side of your screen.
Once you click on the configure button you will be taken to the first page that you need to set up (your HomePage). These settings here are for themes that do not use a static home page. If you do use a static home page then you will need to go to your pages and find your home page and change the SEO settings there.
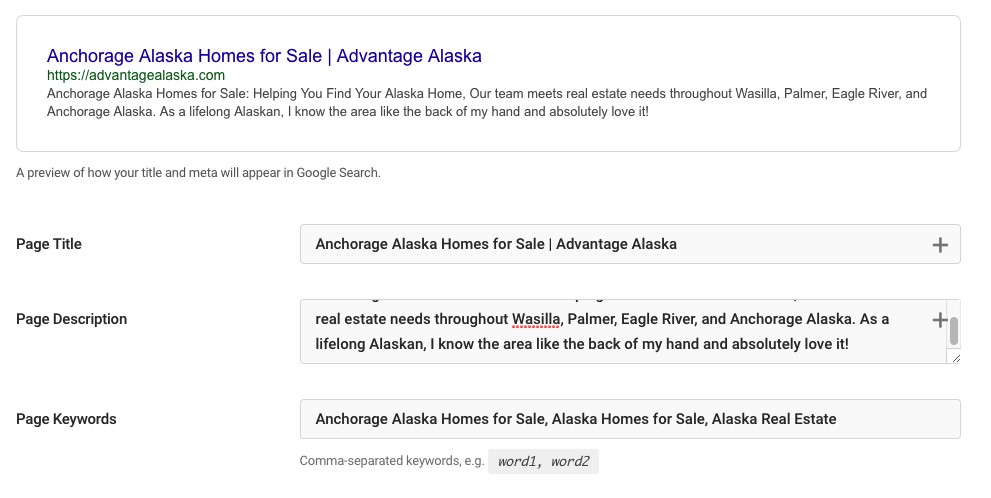
Fill out the form making sure that you use your keyphrase in the Title, Description and keywords. FOR BEST SEO PRACTICE DO SOME KEYWORD RESEARCH FIRST. The box above the Page Title field is an example of how your listing will look in Google for a reference.
The rest of the options on this page are for Social Media sites:
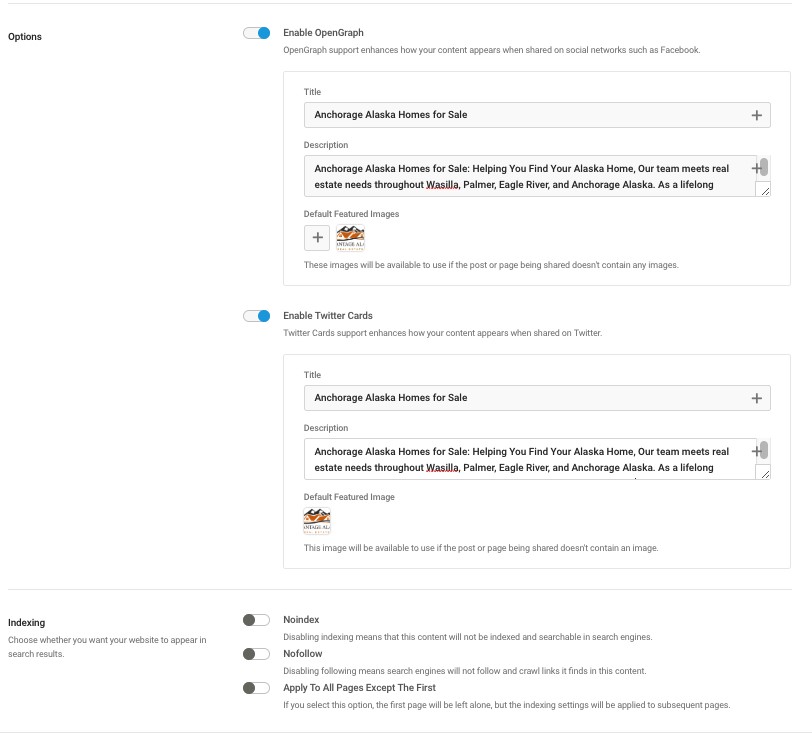
Here you can display an entirely different set of titles and description for those audiences and you can add an image as well. For branding and simplicity, I copied mostly what I did for Google
On the bottom of the page there are a few options as well:

I would leave these all Grey since I do not what to apply these settings site wide remember you will need to write a Title, Description and Keyphrases for each page. I do not advise using Macros for pages.
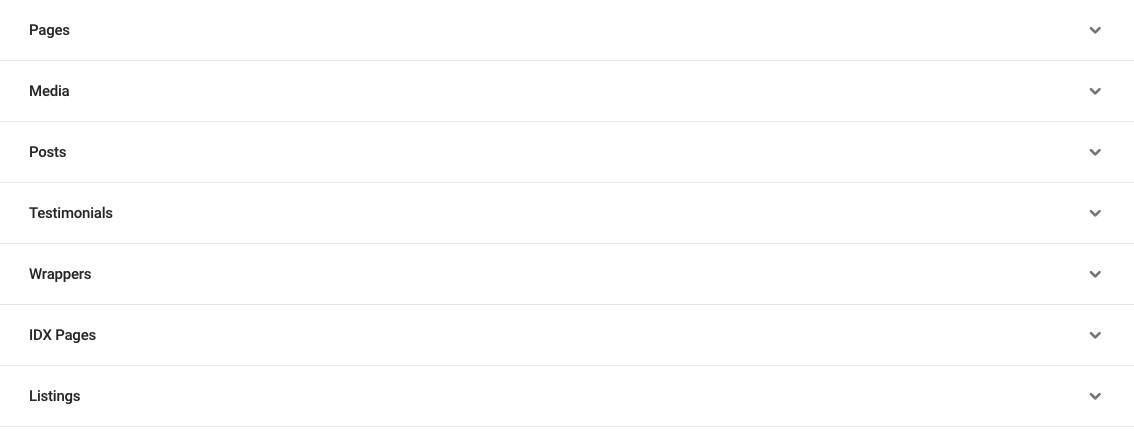
Next click on Post Types: (Under the Big TITLE & META bold words)
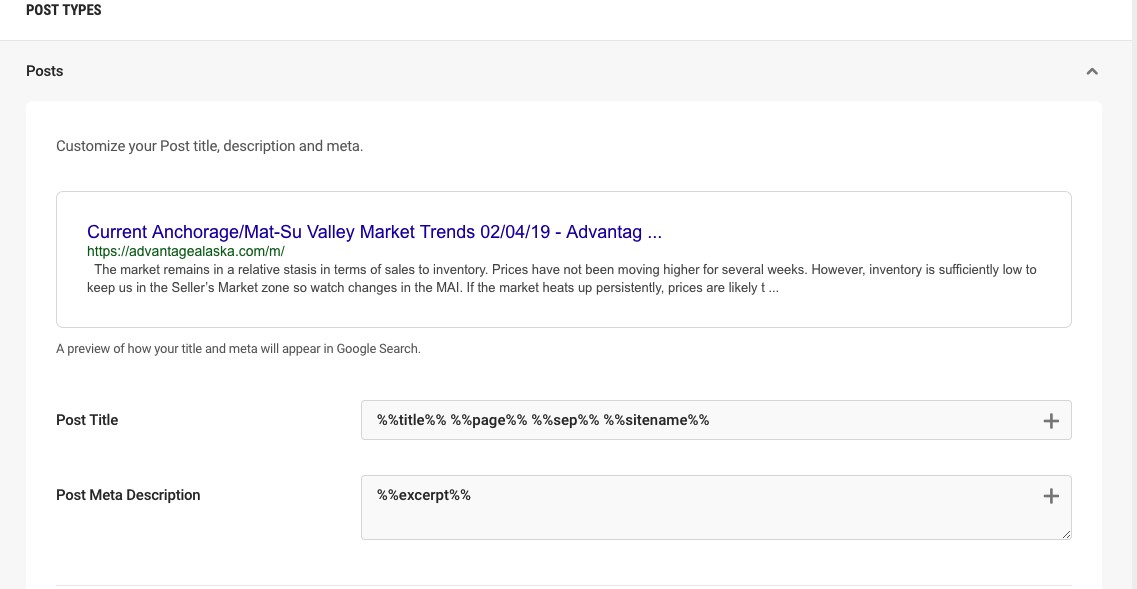
Now, let’s start using the Macros for Posts, even though for best SEO Practices you shouldn’t use them, however, we’re using them now because it saves time so we don’t have to go through all or the posts and redo them manually. Think of it as a just in case you forgot to do your SEO on a post then here are the settings so that some optimization will work for you.
Here is the suggest use of Macro’s
Post Title – %%title%% %%sep%% %%sitename%%
Post Meta Description – %%excerpt%%
I then copy what is above to the OpenGraph and Twitter Cards settings as you scroll down you will see all of your posts types:
For pages, the setting is the same as posts (REMEMBER THAT THIS IS A JUST INCASE SETTING. DO NOT DEPEND ON MACROS FOR GOOD SEO)
The Media options are a different beast altogether:
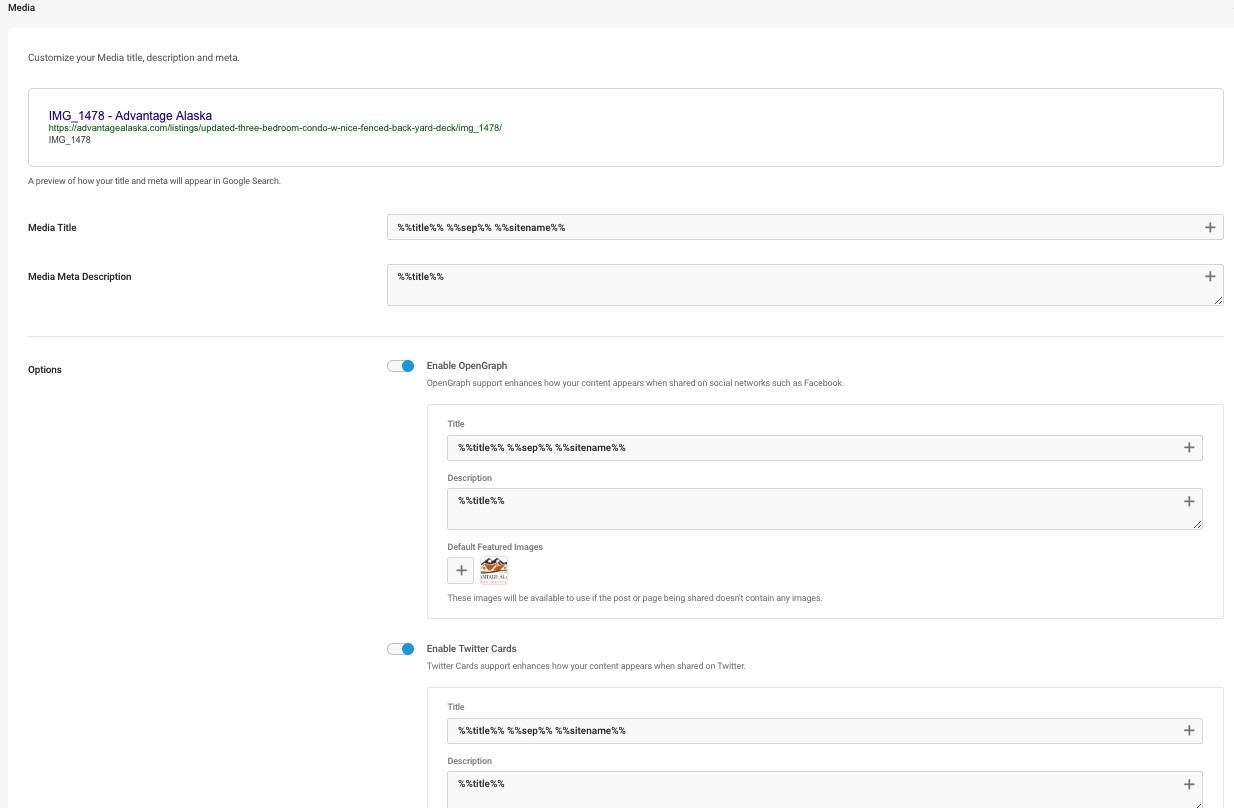
For these pages, I do the following
Media Title – %%title%% %%sep%% %%sitename%%
Media Meta Description – %%title%%
I use the %%title%% for the description because it will just be the name of the file. For example, if your image is home.jpg then the media meta description will just be home. I don’t want to waste time in creating a description for every image on the site. This also helps later when you upload an image make sure that the image is saved in a keyword rich format. For example, home.jpg would be alaskahomes.jpg faster and easier down the road.
Depending on what plugins you have installed, you might have other “Post Types” aand depending on how those plugins work you may want to set some of them to no-index. For example, the Wrappers post type that I have is for a real estate plugin. All of these pages are blank and the content is delivered via javascript, so I set these pages to No-Index.
For the most part for each post type I am using the following:
Title – %%title%% %%sep%% %%sitename%%
Description – %%excerpt%%
Which is also what I use in the OpenGraph Settings as well. I also make sure that I upload the Company logo for Branding.
Taxonomies:
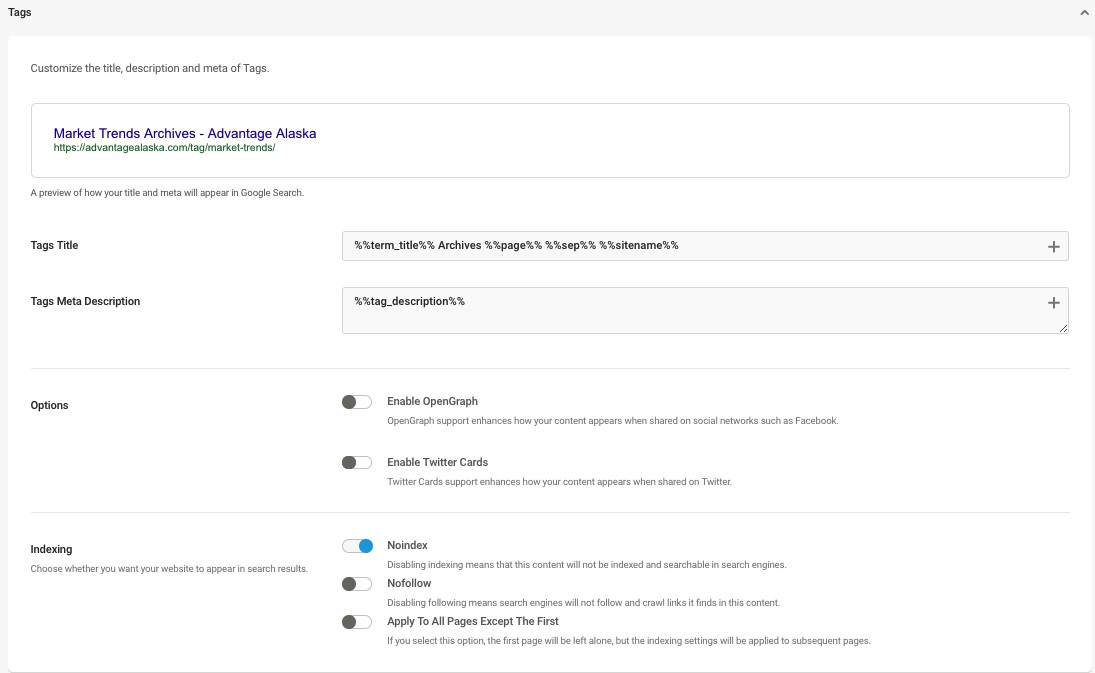
You can change the Tags title to what we have before
Title – %%term_title%% %%sep%% %%sitename%%
Description – %%excerpt%%
Just make sure you enable NOINDEX
Categories:
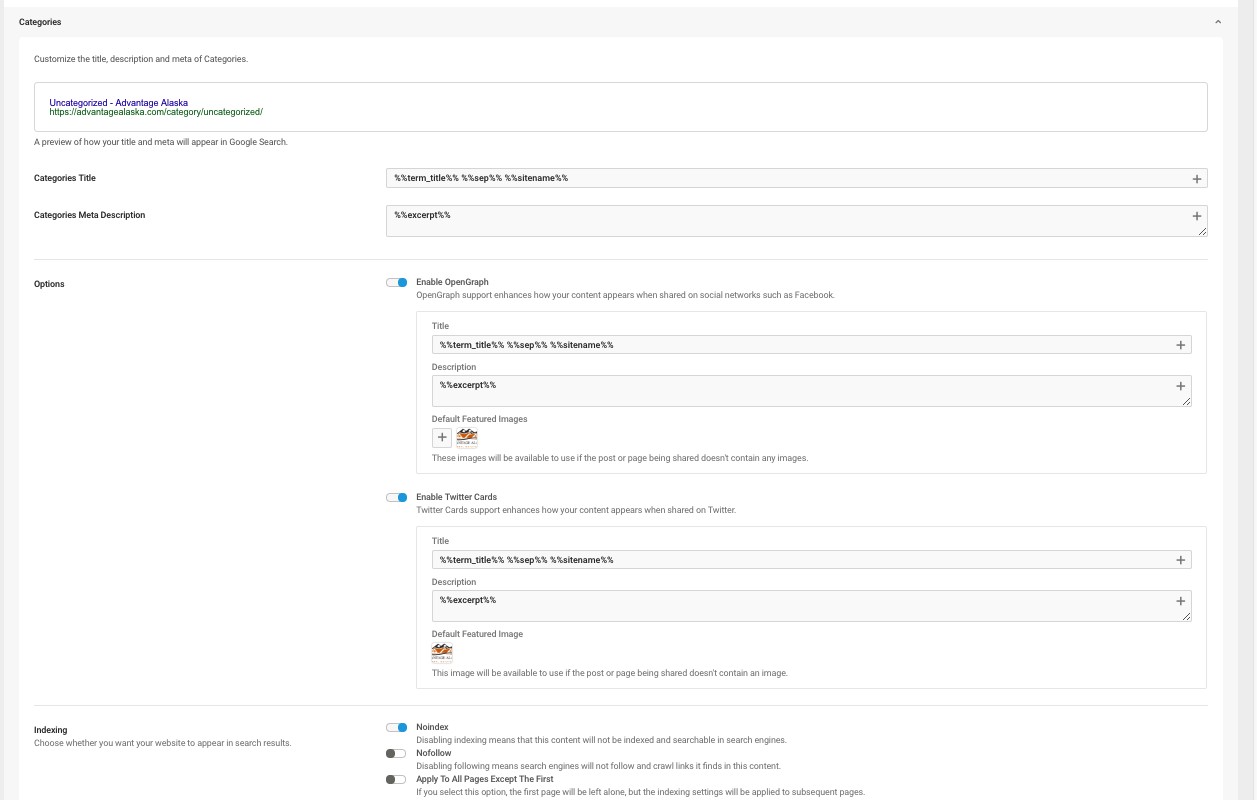
Most sites just use categories for a blog roll. The Category page itself does not have any content on it, just a list of the latest posts. If you do not have any content on your category page then you can set it to noindex. However, I would suggest writing content on your category page and optimizing it. (The above image shows it both ways optimized and Noindex. For this site I want it indexed because I will be adding content.
Again as in post types, you may have some additional Taxonomies depending on how the plugins you are using work then you will have to decide to use NOindex or not. If you are unsure, then you can click on the link. For example, on this site we use a real estate plugin that uses a set of categories for a home such as flooring. I set these Taxonomies to noindex because there is nothing on those pages.
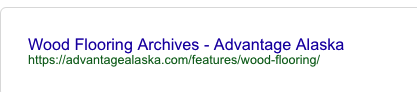
If you click on the link in the preview section above you can see what is on that page if it returns empty like this one does then set it to no index and turn off opengraph and twiter cards.
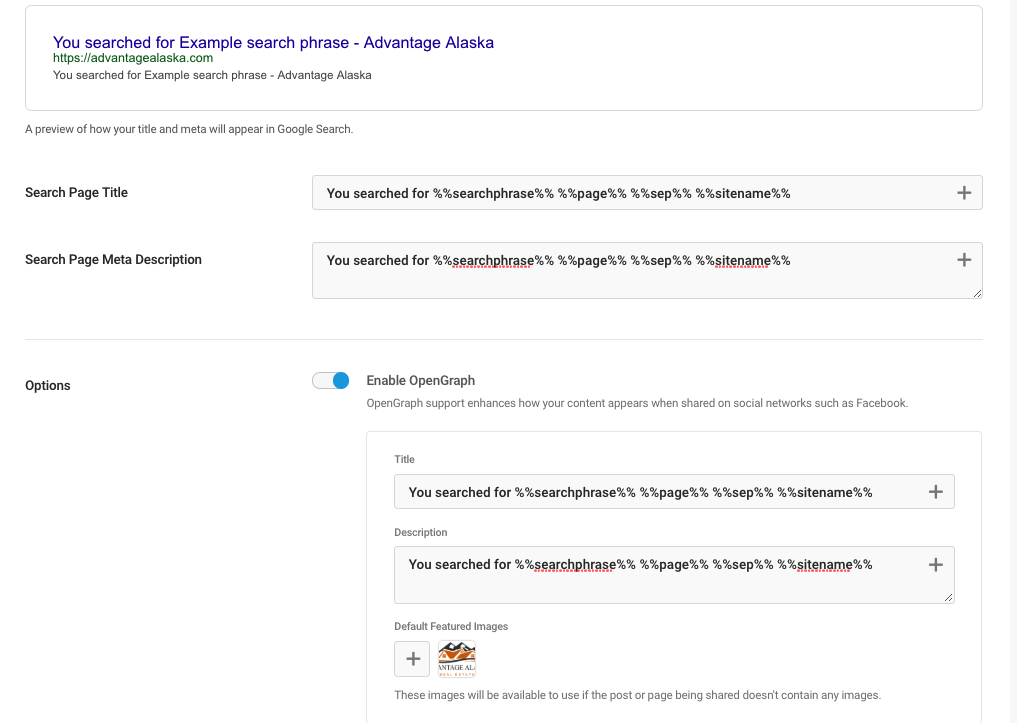
Archives:
Turn off Author Archive and Date Archive:

Leave the search page the way that it is: (here I just copied the Default Search page title to the description to have something there, I then copied that throughout opengraph and twitter card:)
404 Page:

404 page title and description – Page not found %%searchphrase%% %%title%% %%sep%% %%sitename%%
Settings:
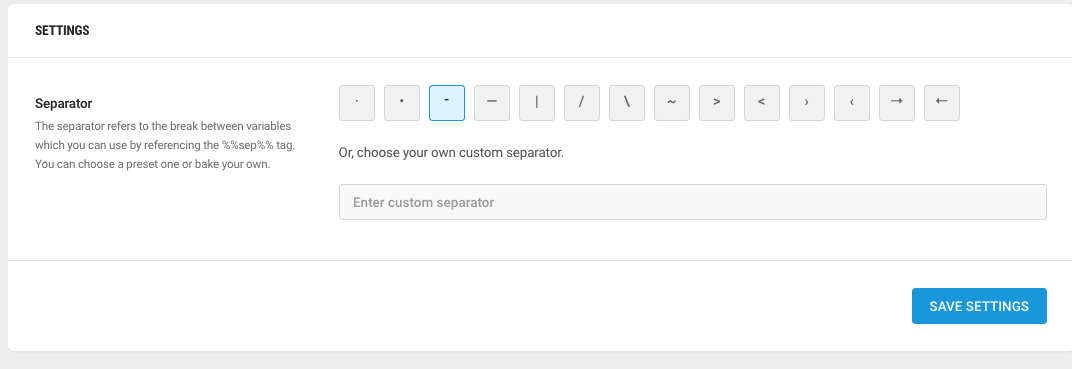
This is the Separator so every time you see %%sep%% this icon will show. Do what ever you want – the norm is the dot 2nd one from the left or the | symbol. I would stay away from / or \ as they have no bearing on SEO at all just a preference.
Social: (fill out all of your info)
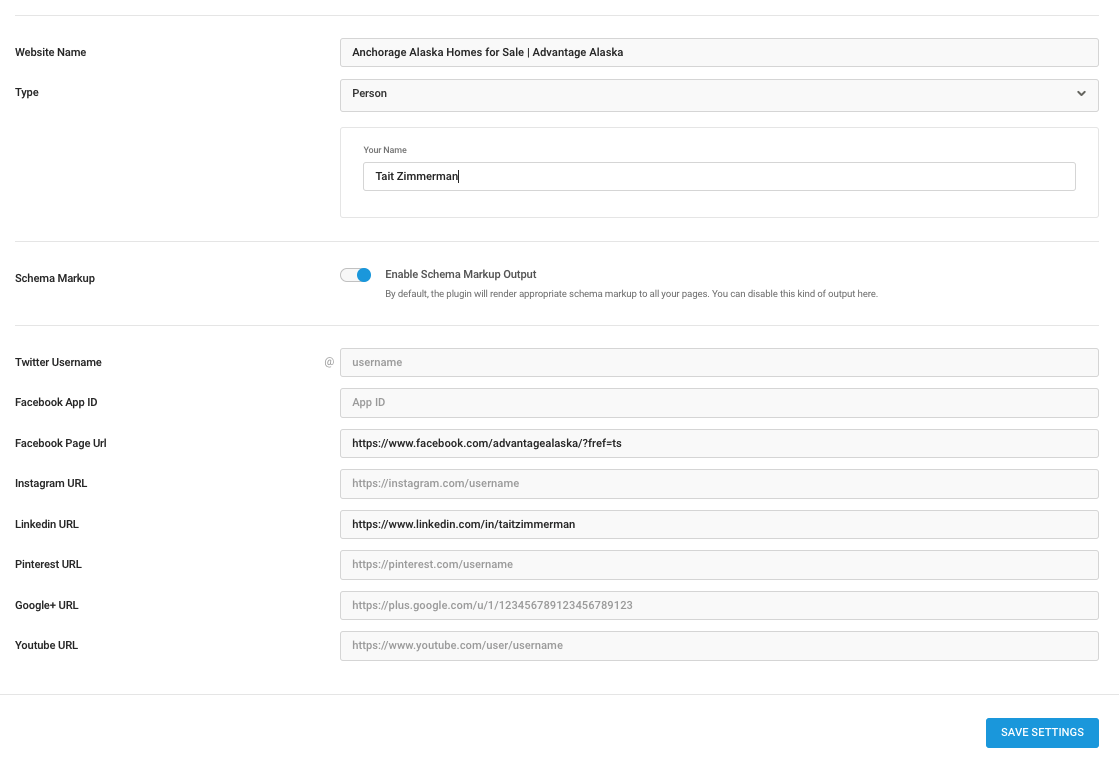
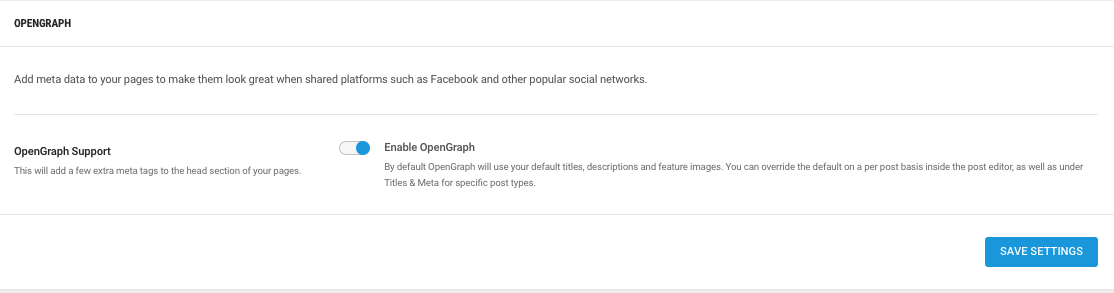
OpenGraph:
Make sure that it is enabled:
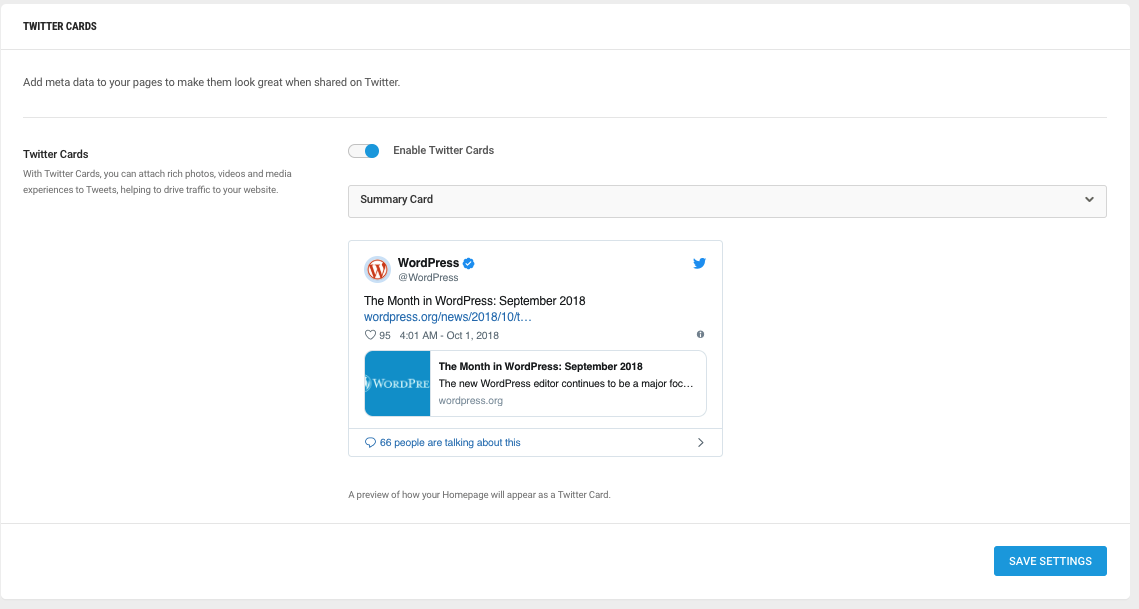
Twitter:
Make sure it is enabled and you can choose which summary card you like large or normal.
Pintrest the instructions on SmartCrawl are a little different than what in on Pintrest. So follow these steps:
- Login to pintrest or create and account by going to https://pintreest.com
- Click on the three … in the top right corner (next to the bell)
- Scroll down to Claim:
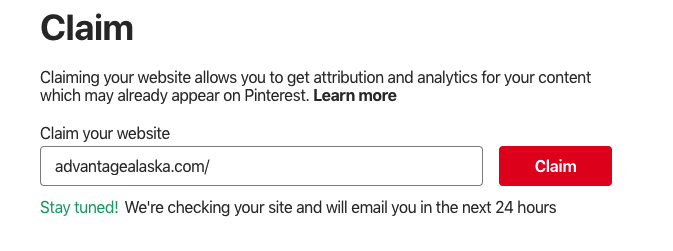 4.Type in your domain.
5. Choose Meta and you will get a code like this – <meta name=”p:domain_verify” content=”1asdf8faodb27f9aa5efb” /
6. Past that into your Pintrest Verification in SmartCrawl
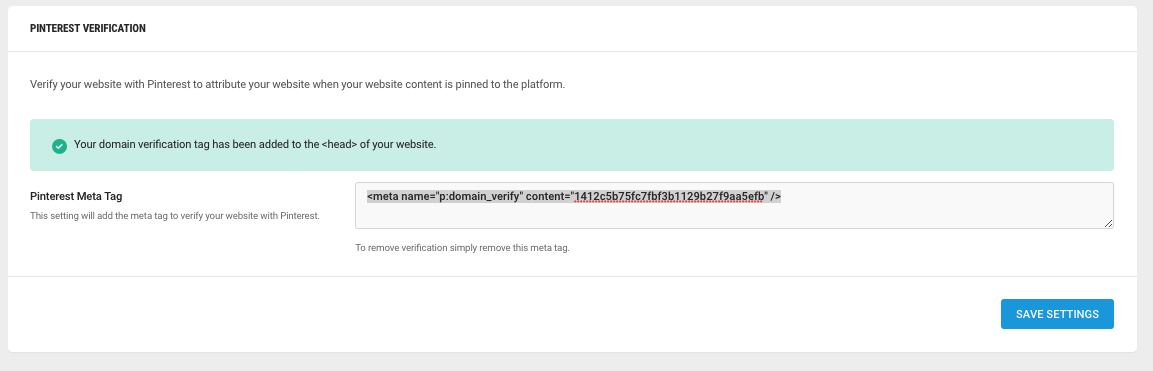
7. Click Save
Sitemap:
This is where you’re going to choose what is in your sitemap. Again, if you have set some items to NOindex you need to also remove them out of your sitemap as well. Yours will look different than what is here due to the different plugins that you have installed.
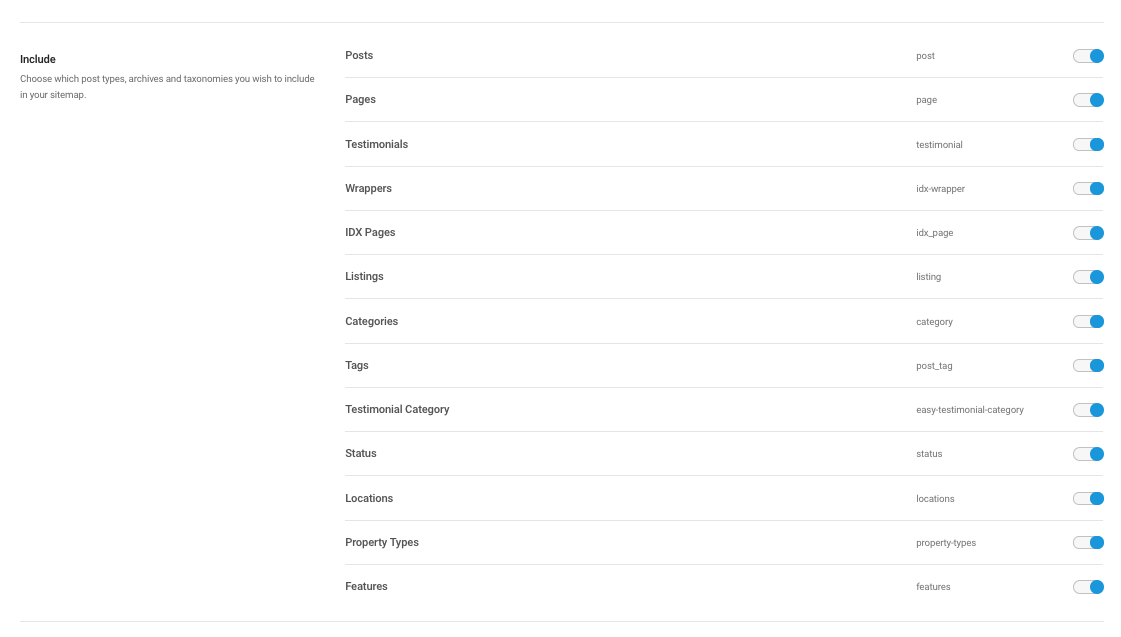
Just make sure that your Tags are removed since they are set to NOIndex; other than that you should be OK.
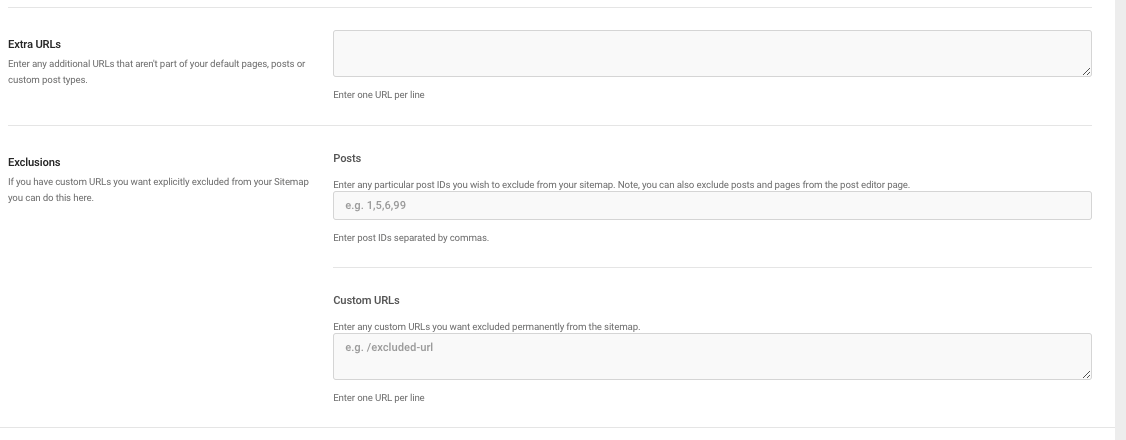
I don’t advise using the extra URLs since this can cause sitemap errors. I also wouldn’t use Exclusions because I would just set that page or post to noindex instead.
URL Crawler:
This is just letting you know of any issues with your site. If there is an issue with your server then you will see a time out error (like below) so, perform a new crawl. (blue button top right)
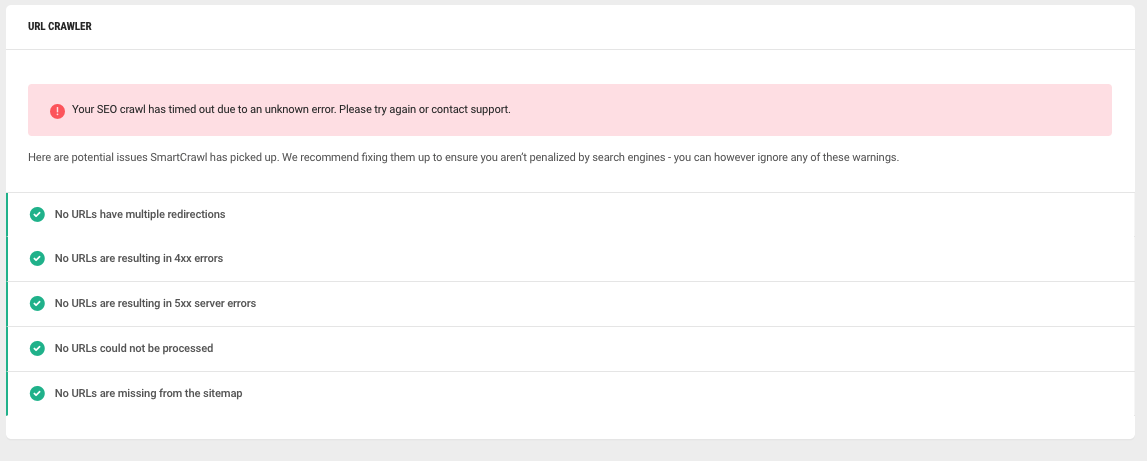
Any errors in your site map will be listed here.
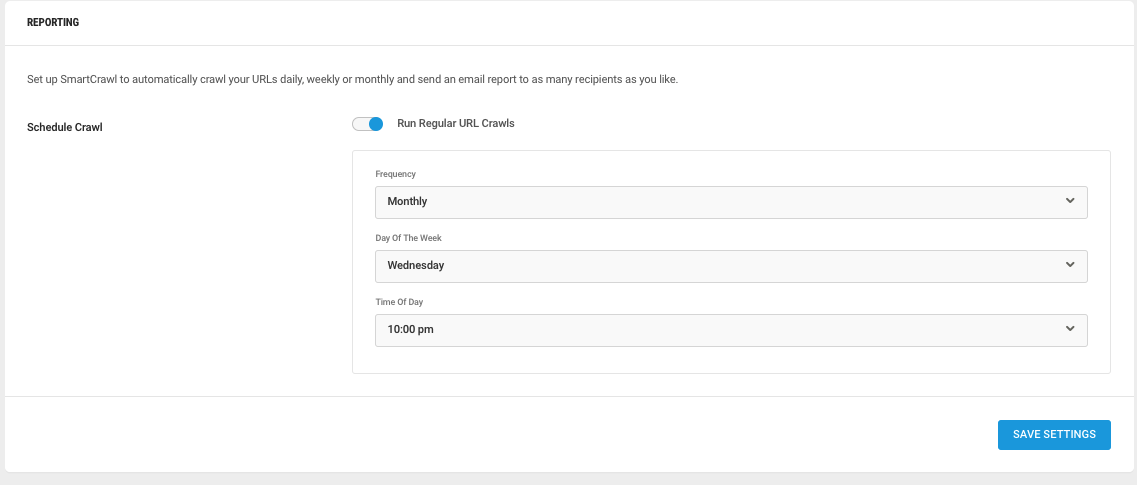
Reporting:
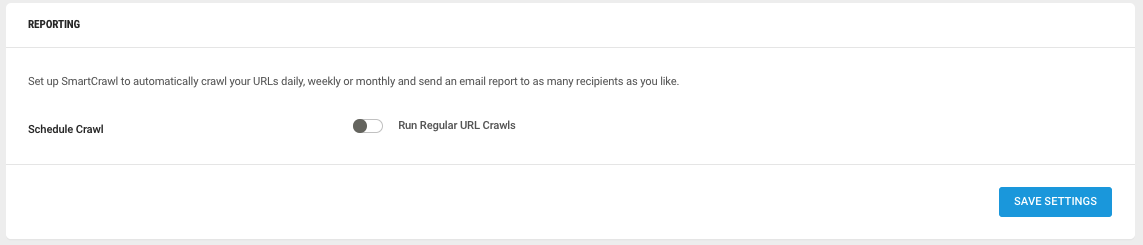
If you have a new site or want to make sure everything is going OK, then I would enable this for once a month as this will keep you informed of any issues: (be sure to pick an odd time such as 10pm. Don’t choosse the hours from 12am to 2 am as this is when most servers will go through maintenance and you don’t want to pick a time when you receive the most traffic either):
Advanced:
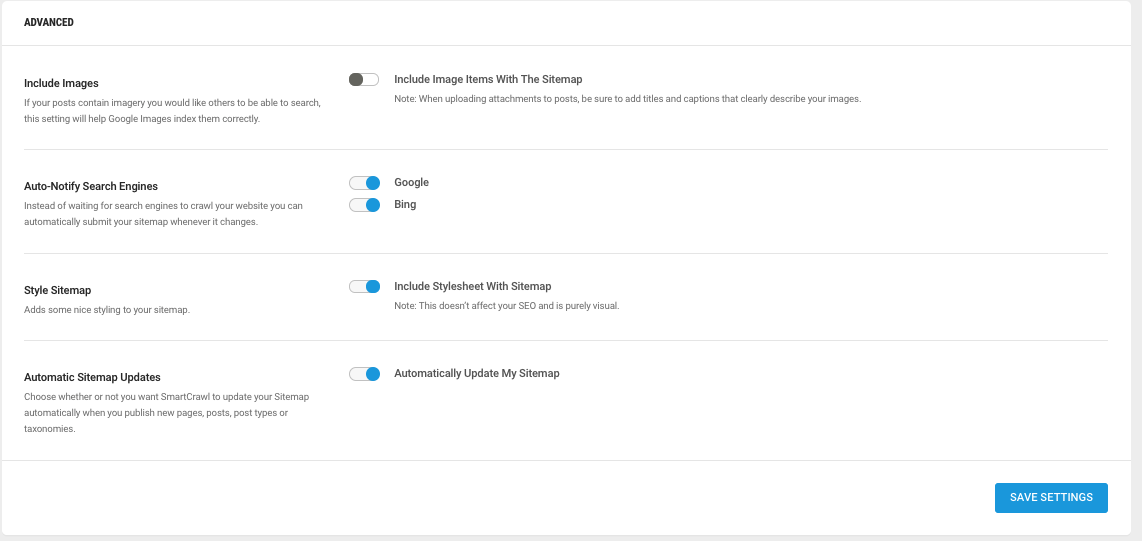
Here you’ll want to enable the Auto-Notify Search Engines of updates to your sitemap. This is not the same as submitting your site to Google and Bing, this is just notifying them that your sitemap as changed, which they will crawl and see the changes.
Advanced Tools:
This is where we can setup some really cool auto-internal linking which can increase your domain authority if done correctly.
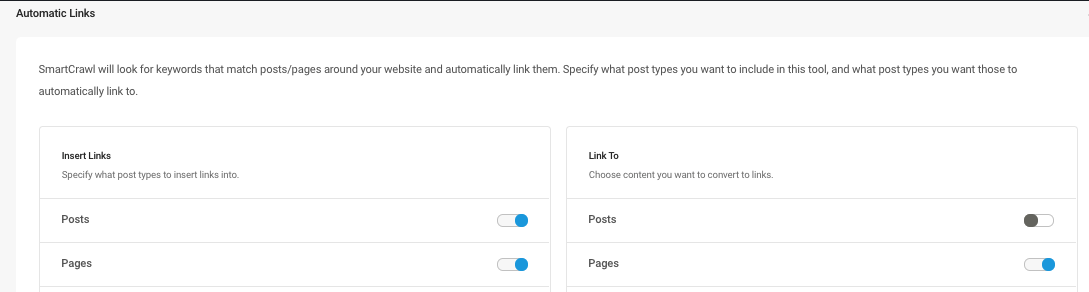
Since I want to increase the Authority of my pages I want to insert links from posts and pages to just pages. I also do not want to give SmartCrawl just any words to link to, so let’s setup one page so you get the general idea.
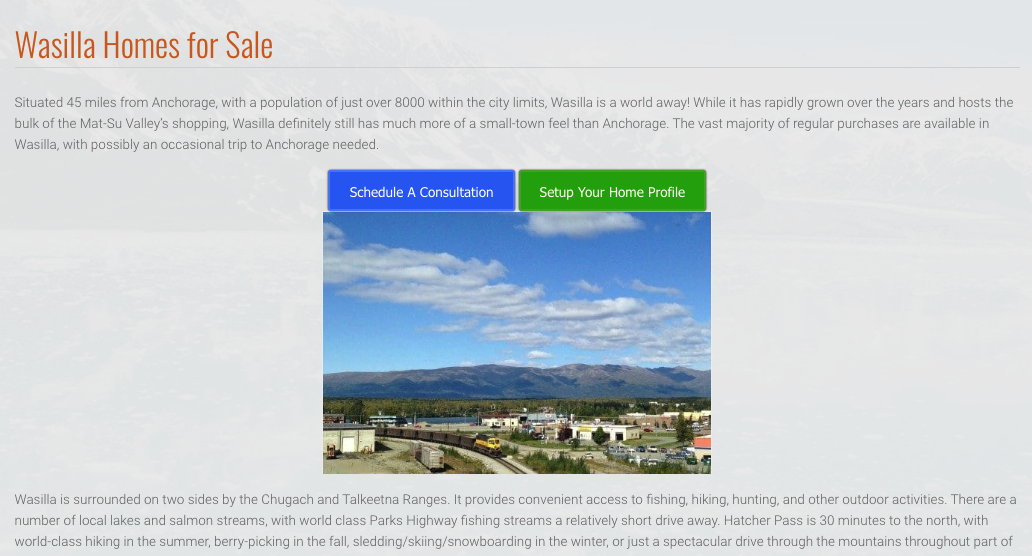
This is the page that I want auto linking to link to:
Next, I click on the Custom Keywords Button:
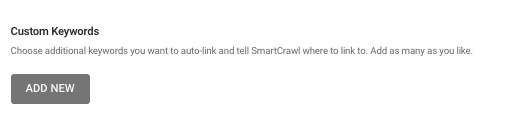
Here I fill out the form putting in keyphrases and the URL. I want those keyphrases to link to:

Do this for each of the pages you want to auto link to.
Next under Settings, we need to adjust how many links are added to your posts and pages (if you do not do this then it will add tons of links.)
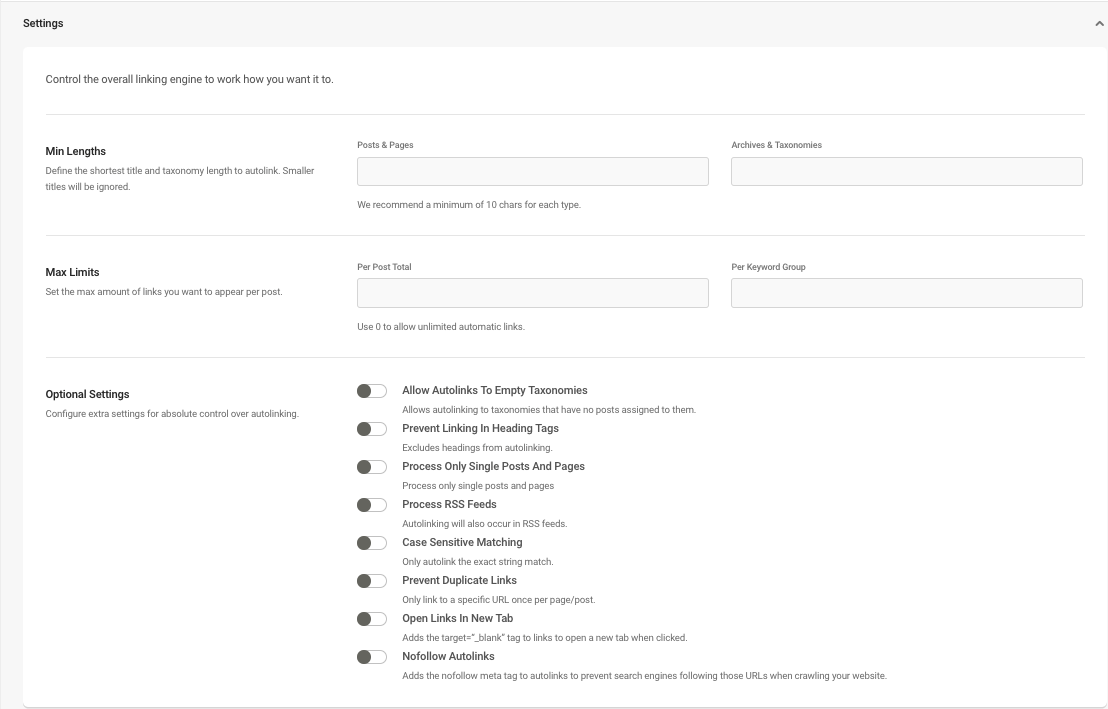
What you want to do is limit the amount of links that are applied to one page or post. 1 or 2 is great 3 is pushing it, so under Max Limits Per Post Total is 2 Per keyword group is 1 as well.
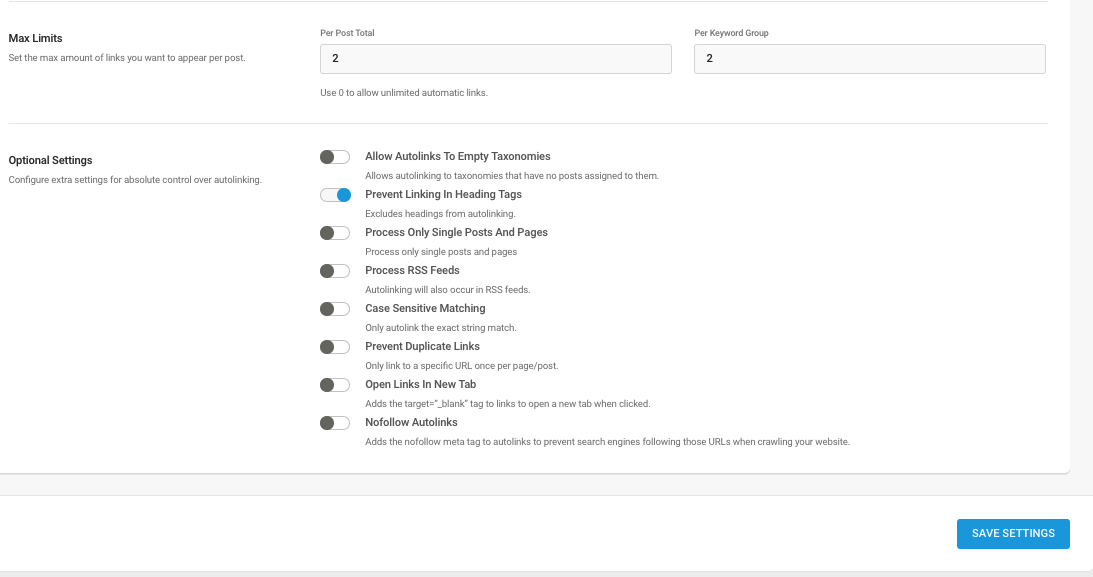
After adding in all of my pages my Max Limits are 7 per post and Per Keyword Group is 1:
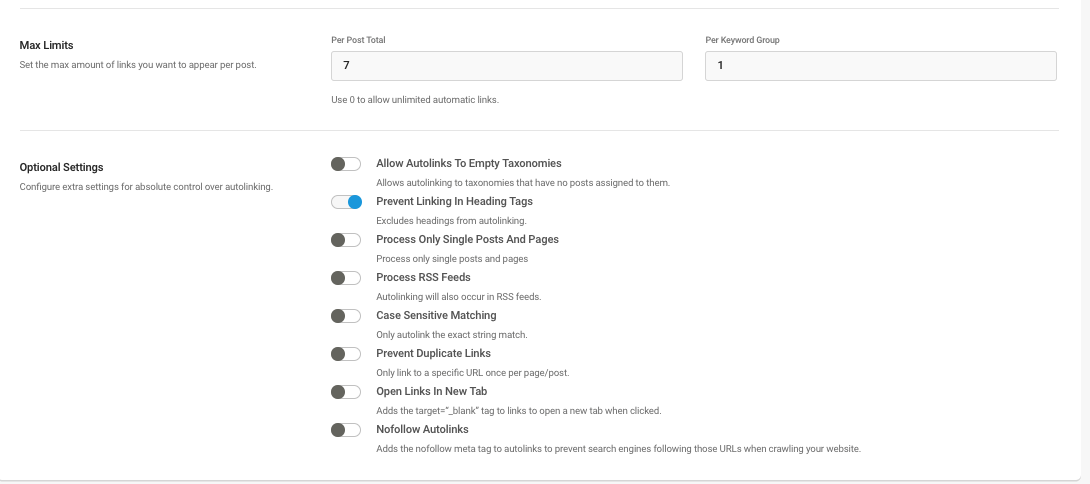
What this does, is adds a link with the keyphrase and since I have 7 custom phrases, I set the per post total to 7 and the per keyword group is 1 meaning SmartCrawl will add one link for each of my 7 keyphrases. Rarely do I just link all of my keyphrases on one page so this isn’t an issue.
URL Redirection:
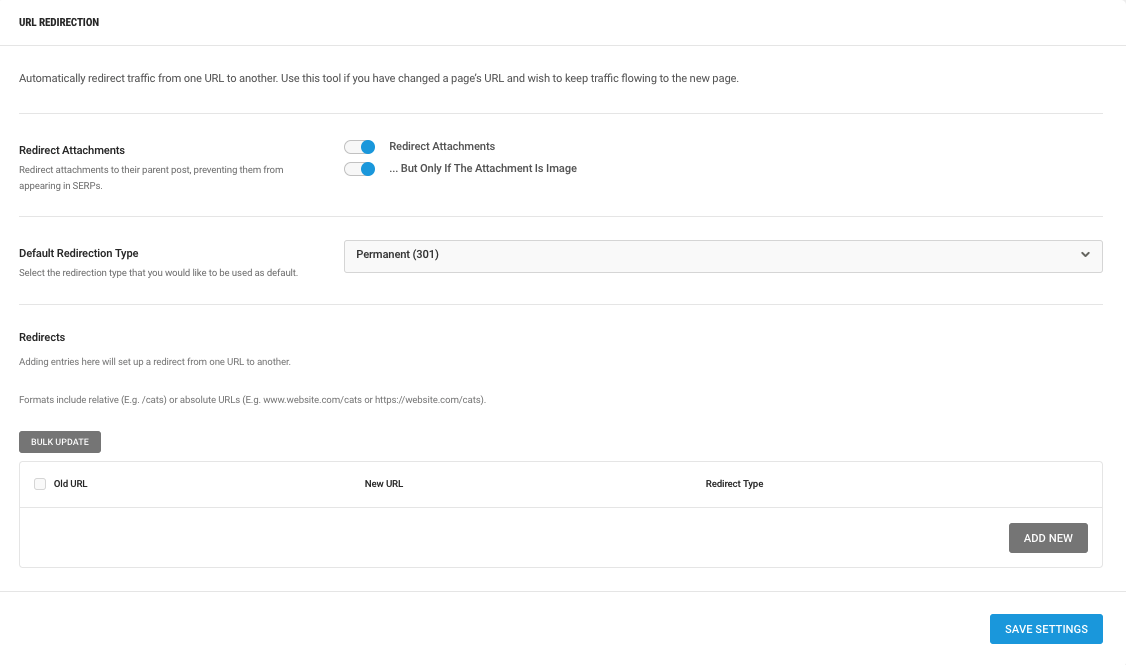
Enable both Redirect Attachments. This prevents WordPress from creating a page for each of your images. (Panda Penalty)
Redirects are simple; if you change a URL or slug then make sure that you create a redirection for it.
Moz:
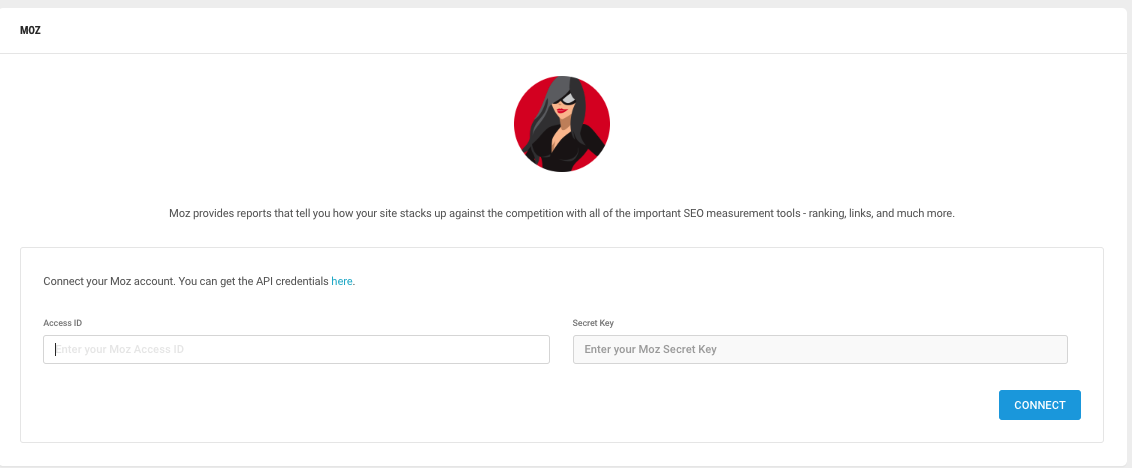
If you have a Moz account you can link it to your site here. Enter your access ID and Secret key
General Settings:
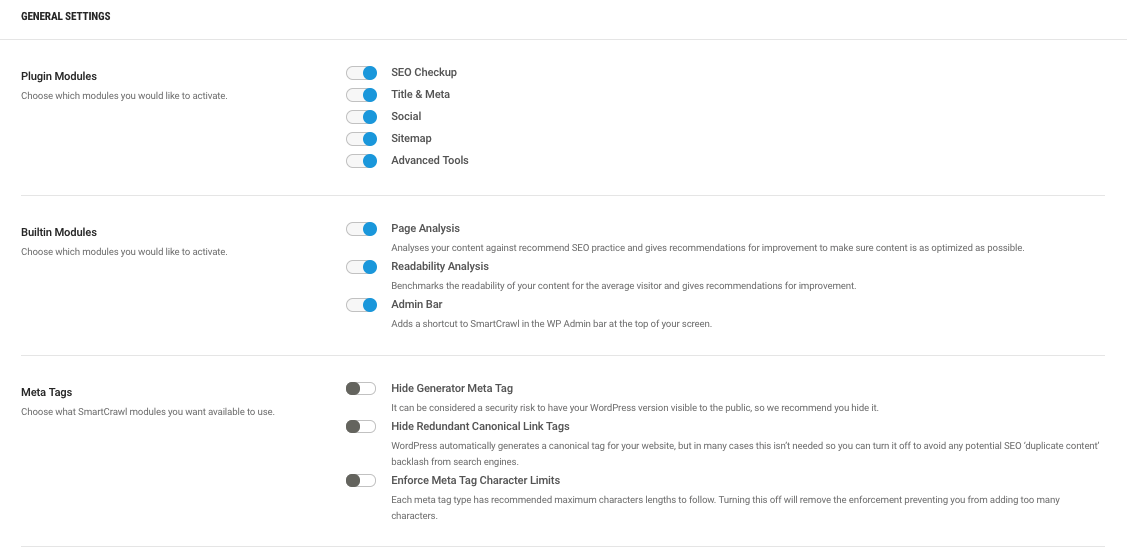
Turn off Readability Analysis. Turn ON Advanced Tools (just like you do in the Yoast plugin) Leave the rest of the settings
Search Engines:
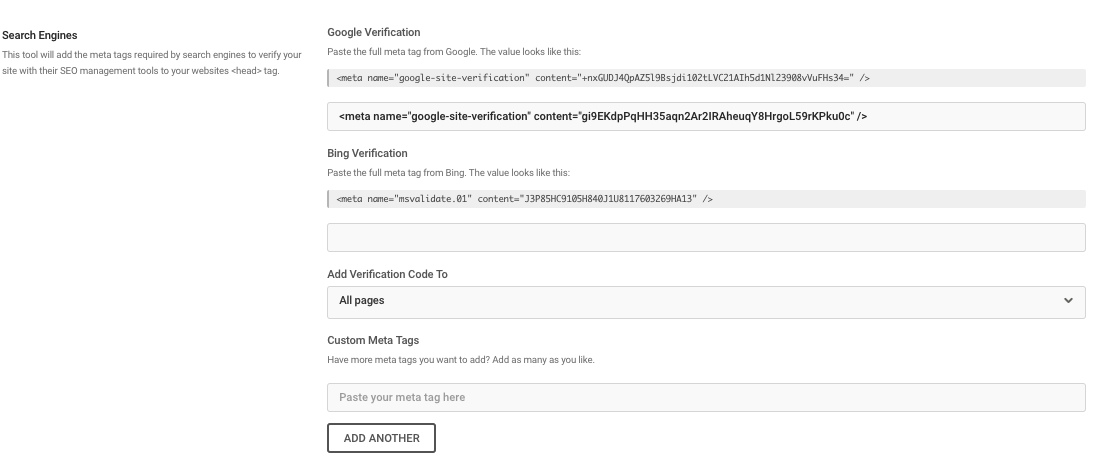
Add your Google Verification Meta tag from Google and Bing. I am going to show how to add the Bing Verification.
Go to – https://bing.com/toolbox
Login with your Microsoft Account
Once logged in enter your URL and Link to your site map
Your sitemap link is – http://yourdomain/sitemap.xml
Next you will get a Verification

Copy and paste this code into SmartCrawl then click on the Save button on that window and then the verify button on this page
User Roles:
Leave these setting alone
Import/Export:
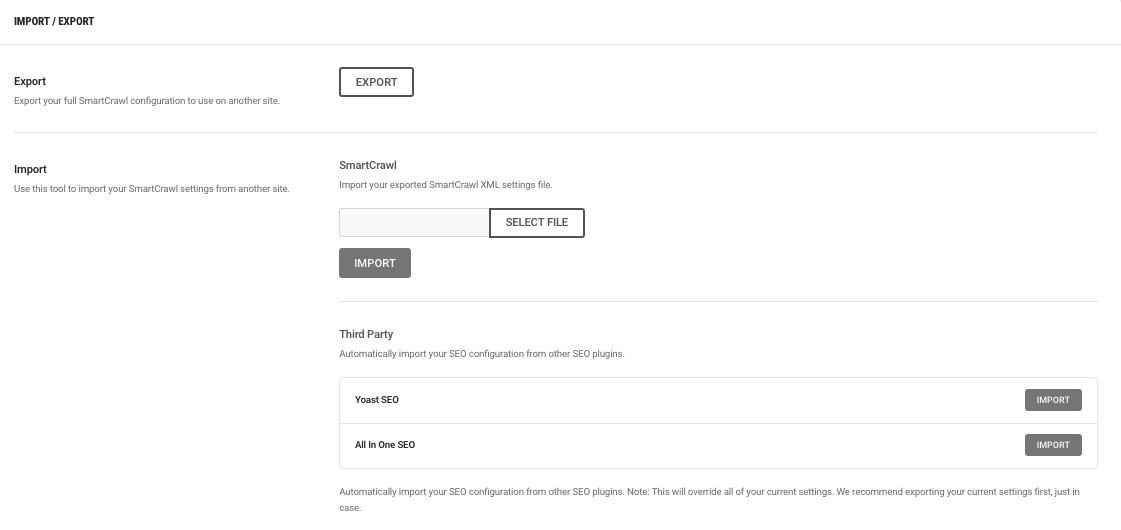
This is where you can import all of my settings via the import button. If you are coming from Yoast SEO and All In One SEO you can auto import their settings as well.
So that’s how to set up SmartCrawl SEO Settings for the best results.
For a Related Post you can also increase your Google Reviews by using this trick.
Now I want to turn it over to you: Which of the steps from today’s guide are you going to implement first?
Let me know by leaving a quick comment below right now.